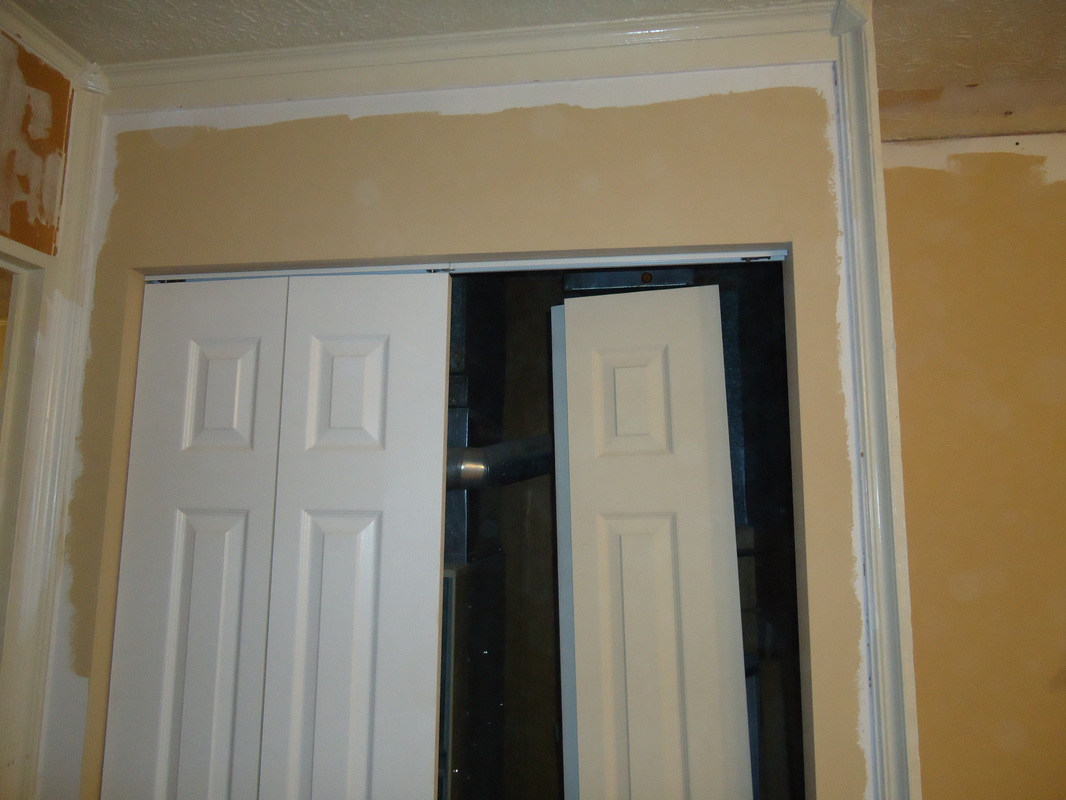
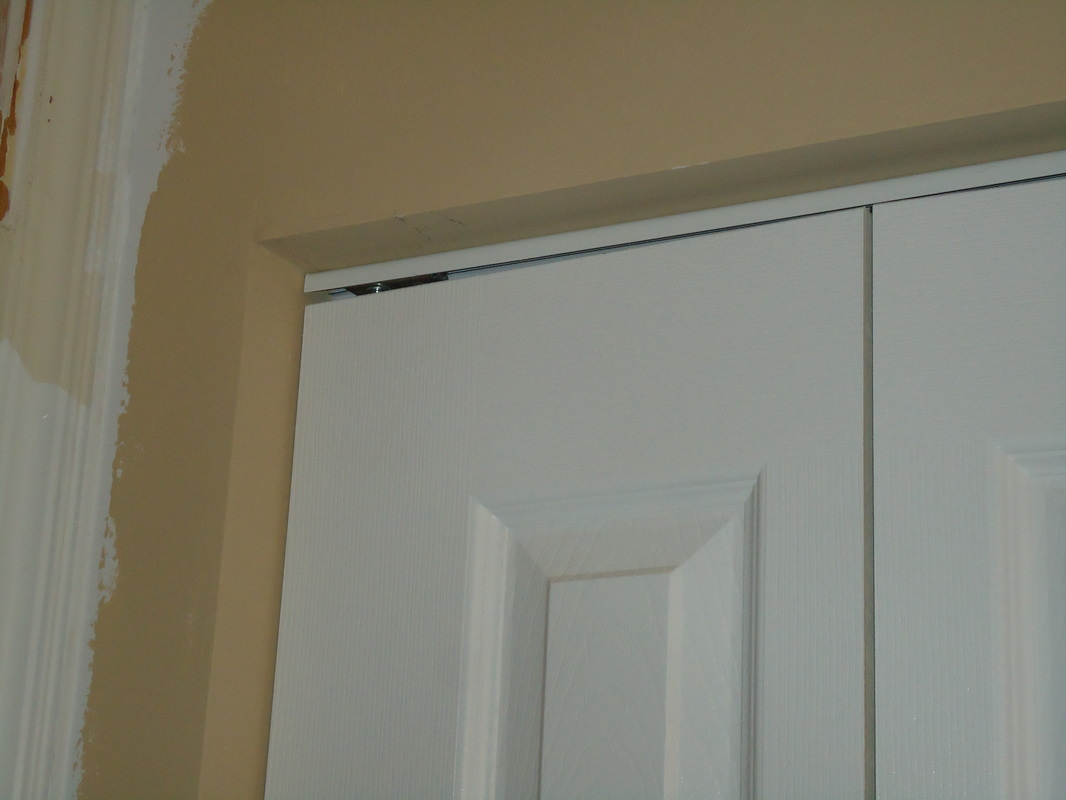
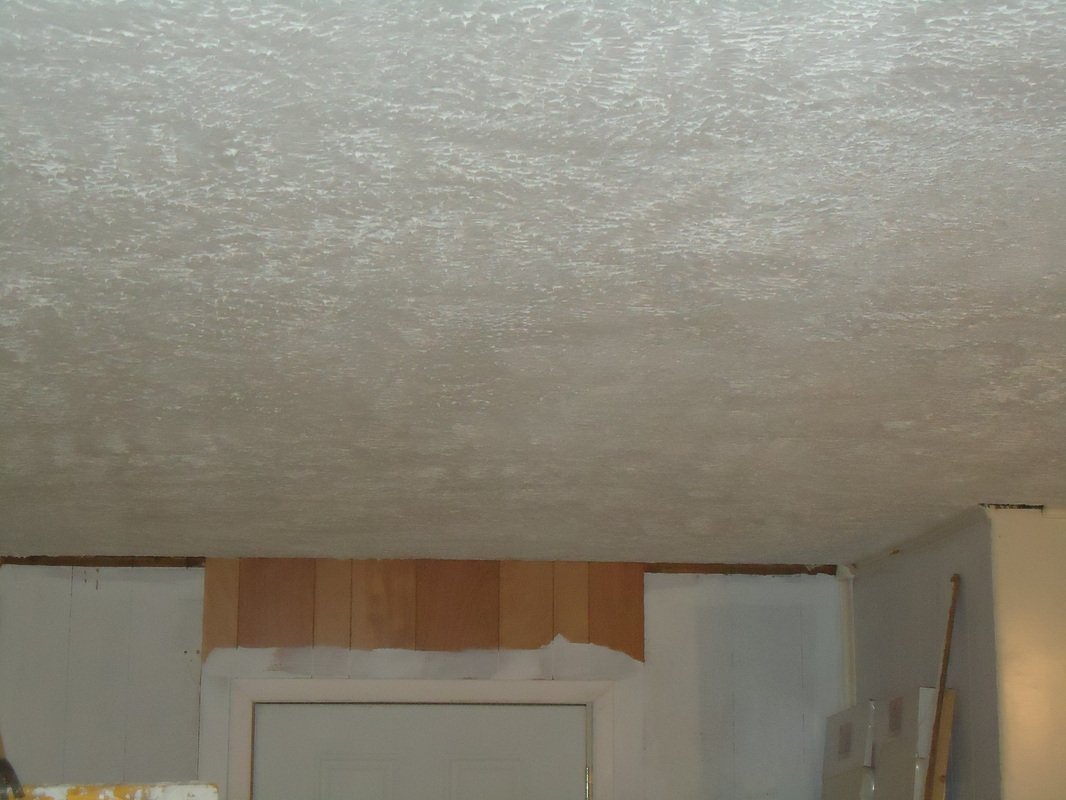
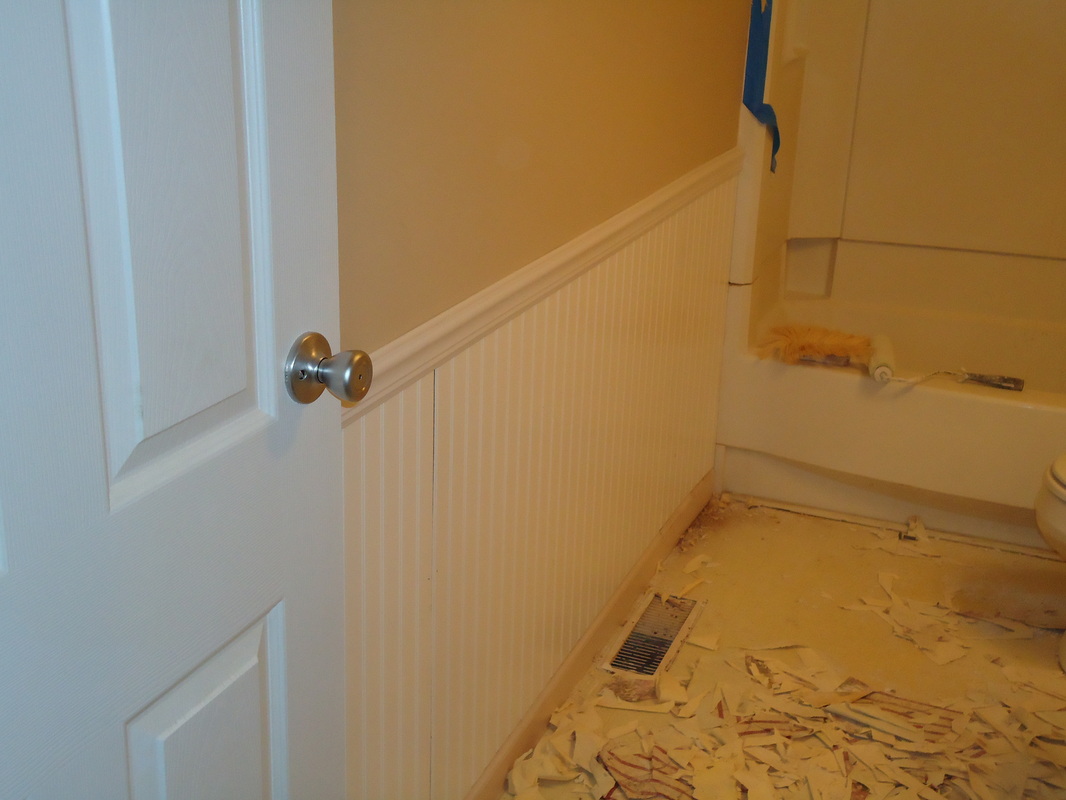
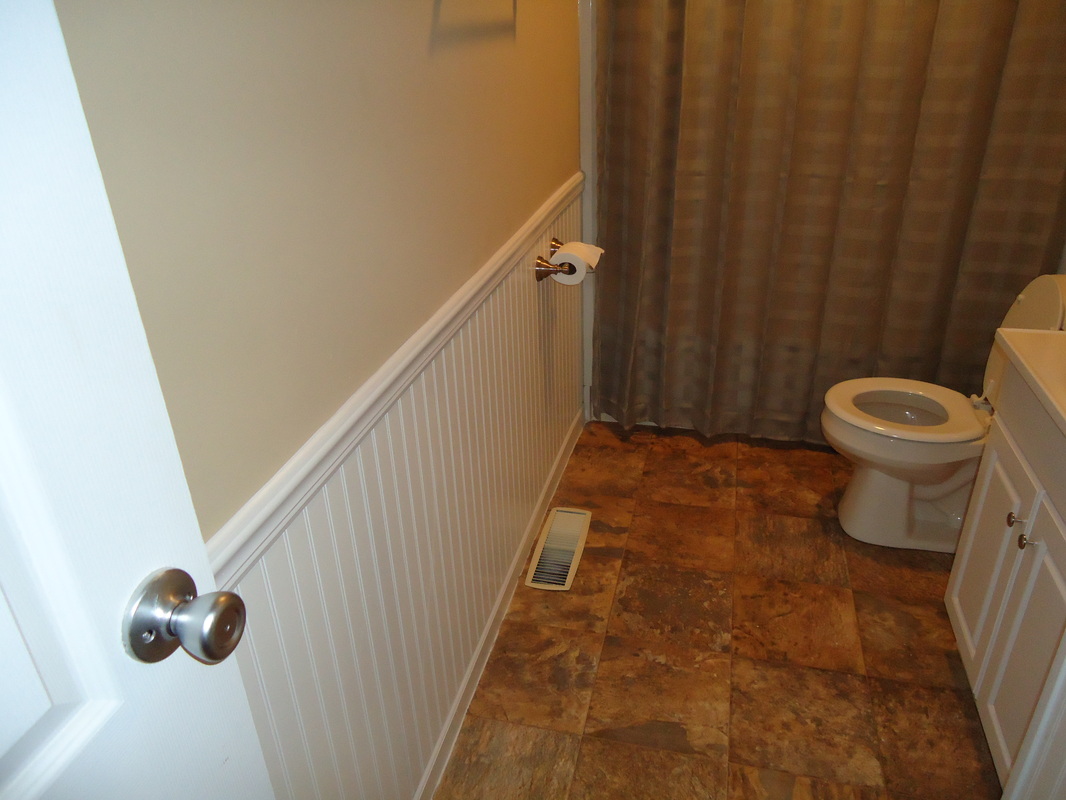
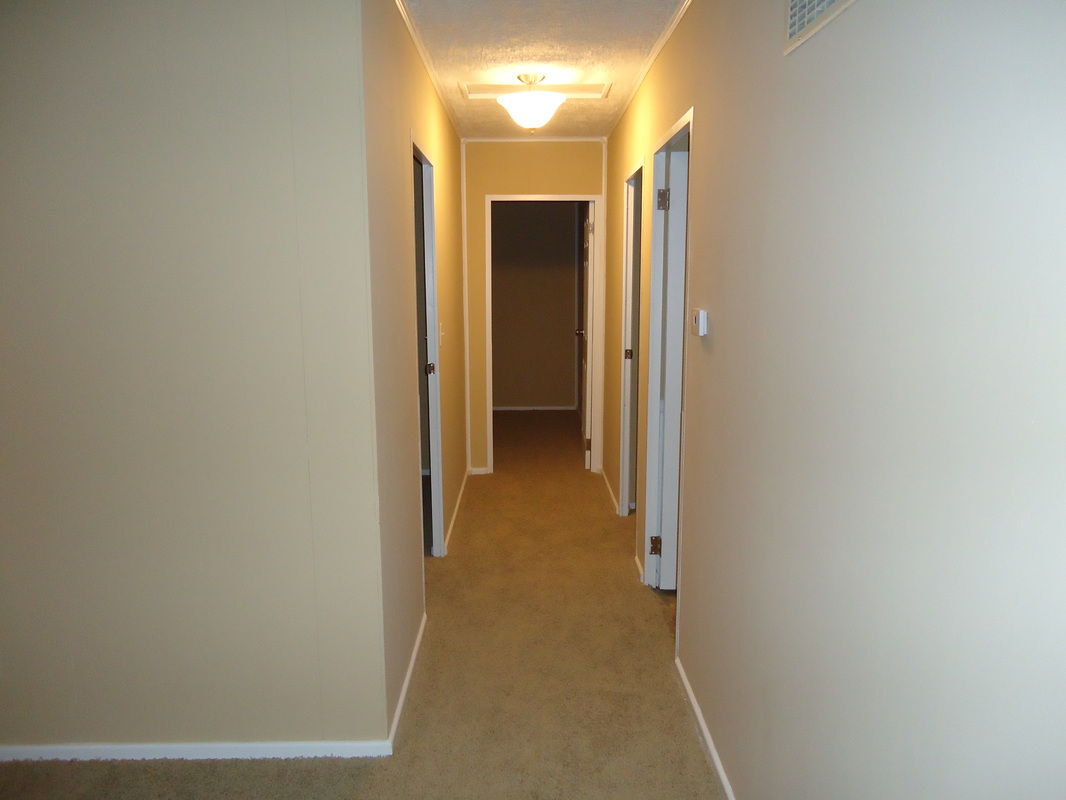
February 2012 ProjectSince I can't seem to remember to take before pics, we have some " in process" pics. This house was built in the '50's and is considered to be a "steel" house. All of the original doors were steel, the trim corners are steel, and there are steel brackets holding the framing together. We went through and replaced every interior door, closet door, the front and back entry doors, every light fixture, light switch and outlet. We even added a new entry door to the garage. The walls were completely covered in wall paper and it took about a week to remove. The ceiling in the living room and hallway looked like the surface of the moon, so that was scraped, filled in, mudded, and stomped. Since the walls are paneling, we filled in some of the grooves as the walls needed it to homogenize the look and the paint. Every wall and inch of trim was painted as well as every door. There was so much going on in this house and the construction of it is not standard, anything that need to be changed had to be modified in some way or the removal of the old was a process. In the end a good project and I think it turned out well.
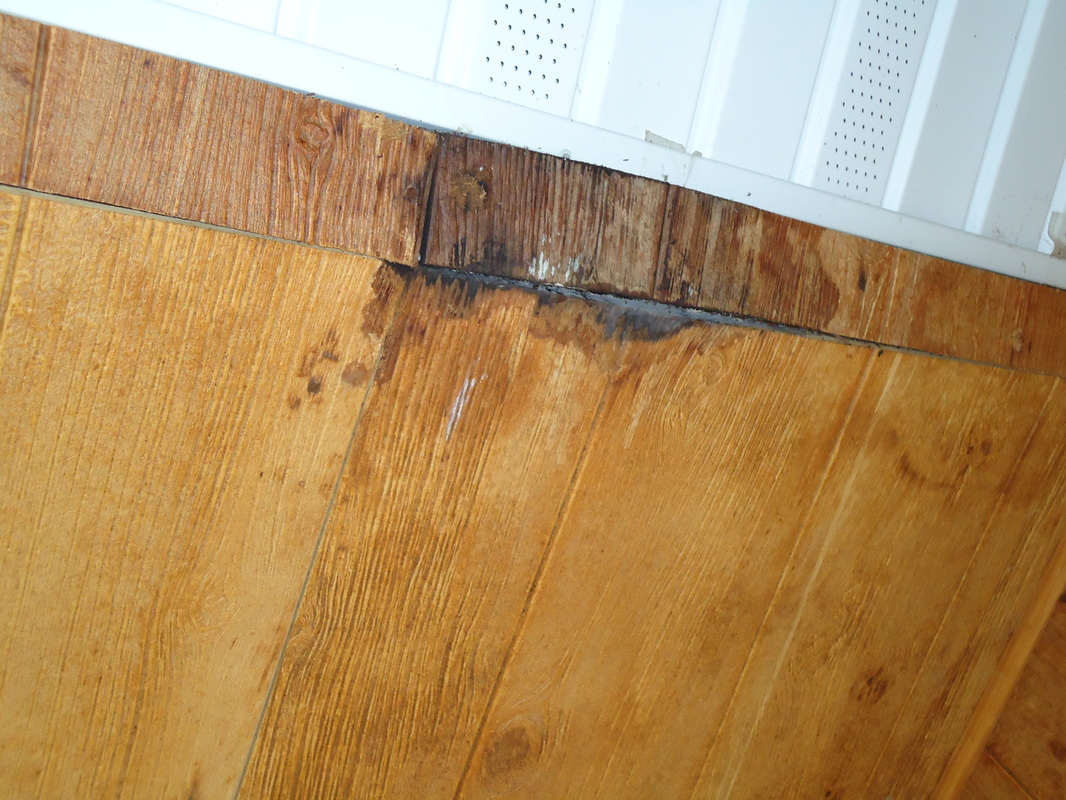
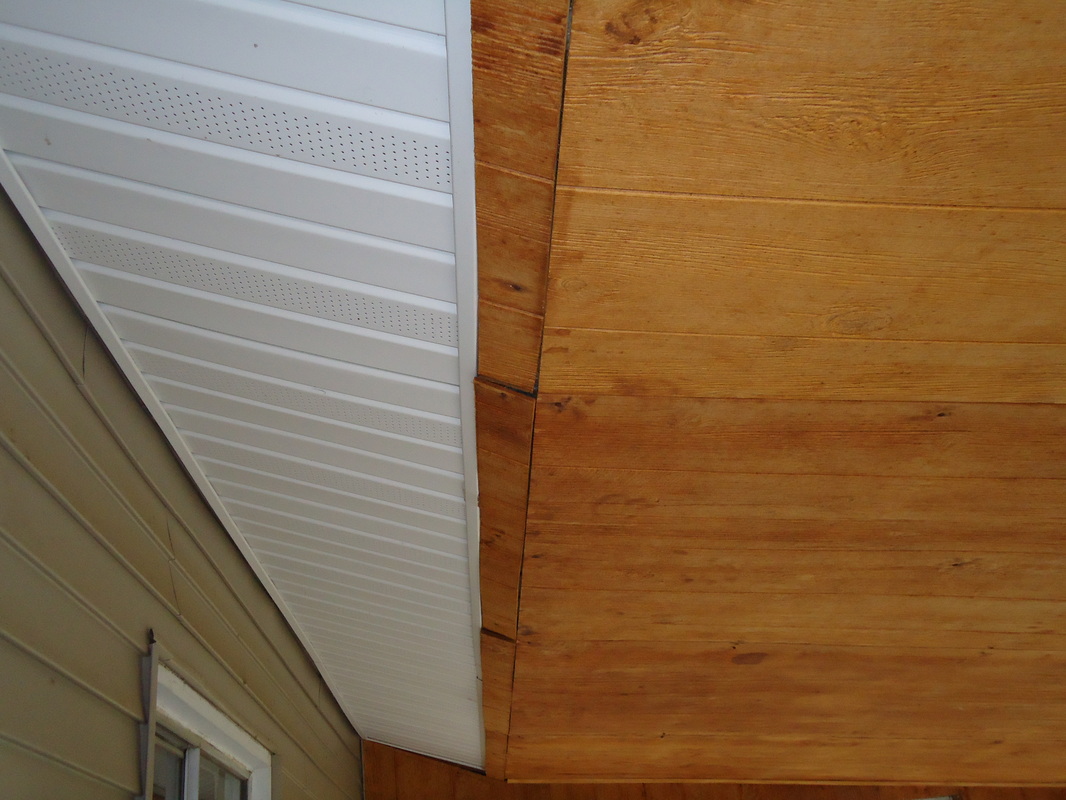
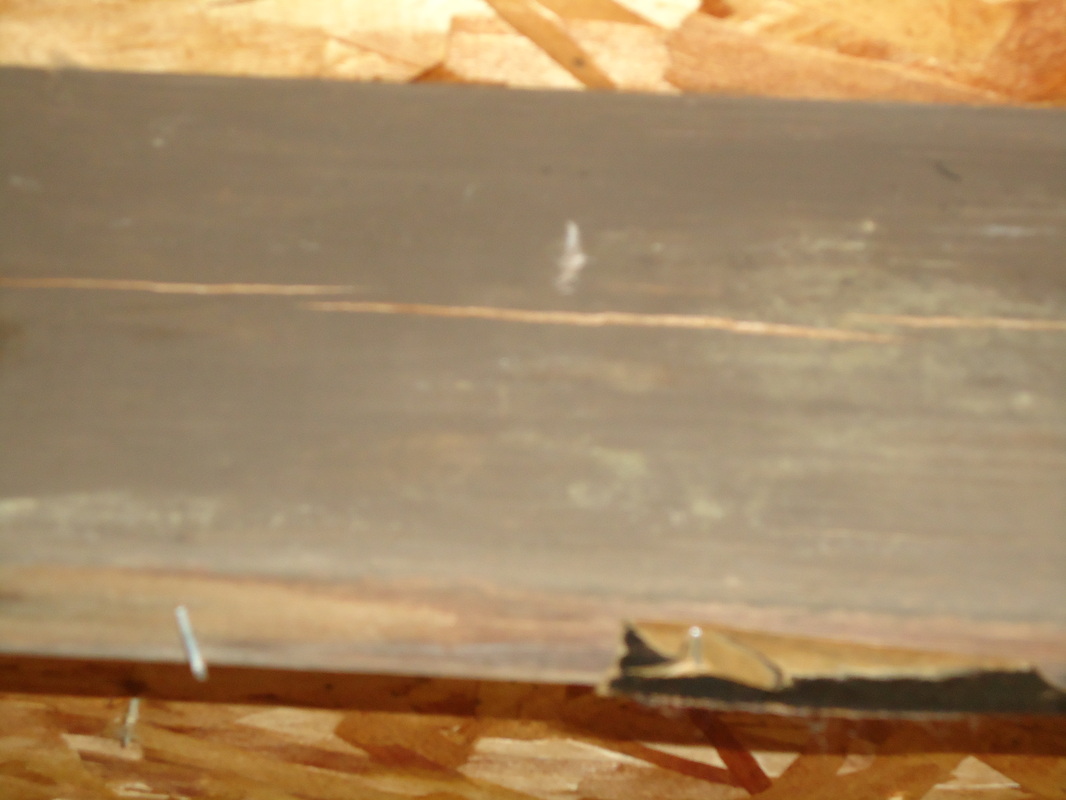
            Williamsburg FarmhouseRotting WallsHere we have a three season room that was probably someones weekend project and by weekend I mean month long project. First mistake was the use of "white wood" on concete instead of treated. It's all down hill after that. The before and after pics really don't show much of a difference, but there are some MAJOR differences.
After all of the rotted siding, trim, and structural material were removed, we went in and used treated lumber for sills and vertical supports, used Dryrite insulation, Miratec trim boards, triple coated deck screws, Weatherscreen paint, ect. This room should last a very long time. As an added bonus, we repainted the interior and something the home owners won't see is the extra vapor barrier between the insulation and the siding. It's the little things that make a difference. 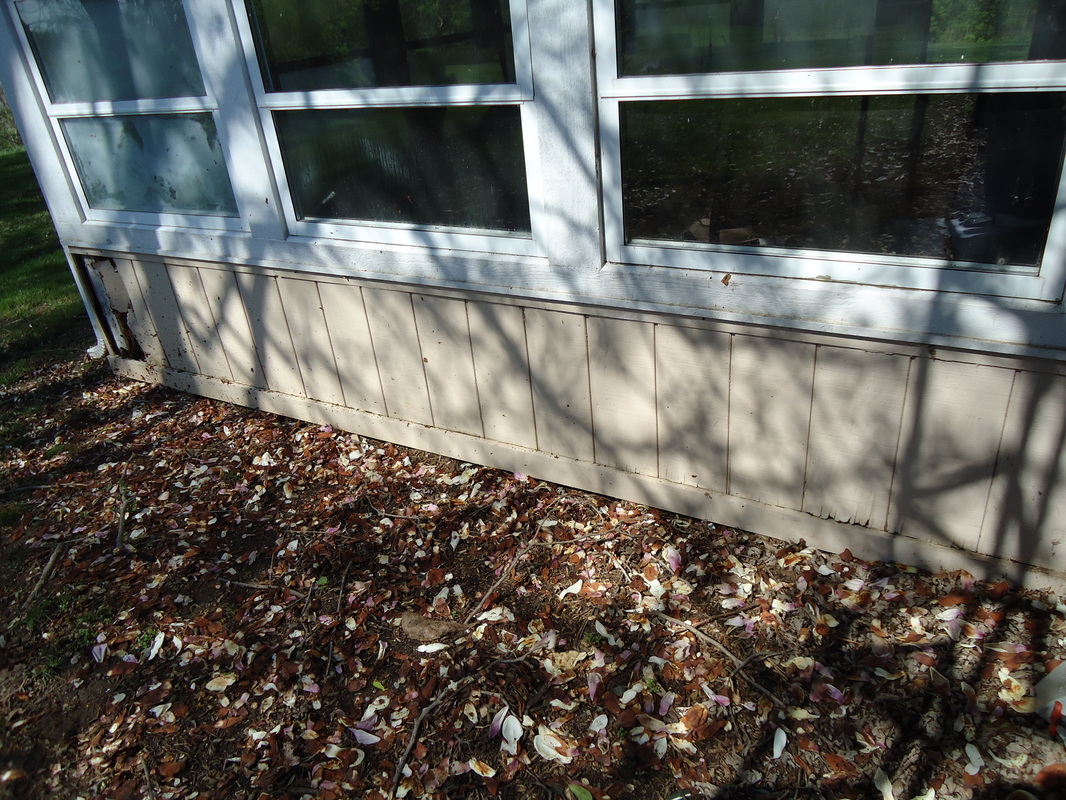 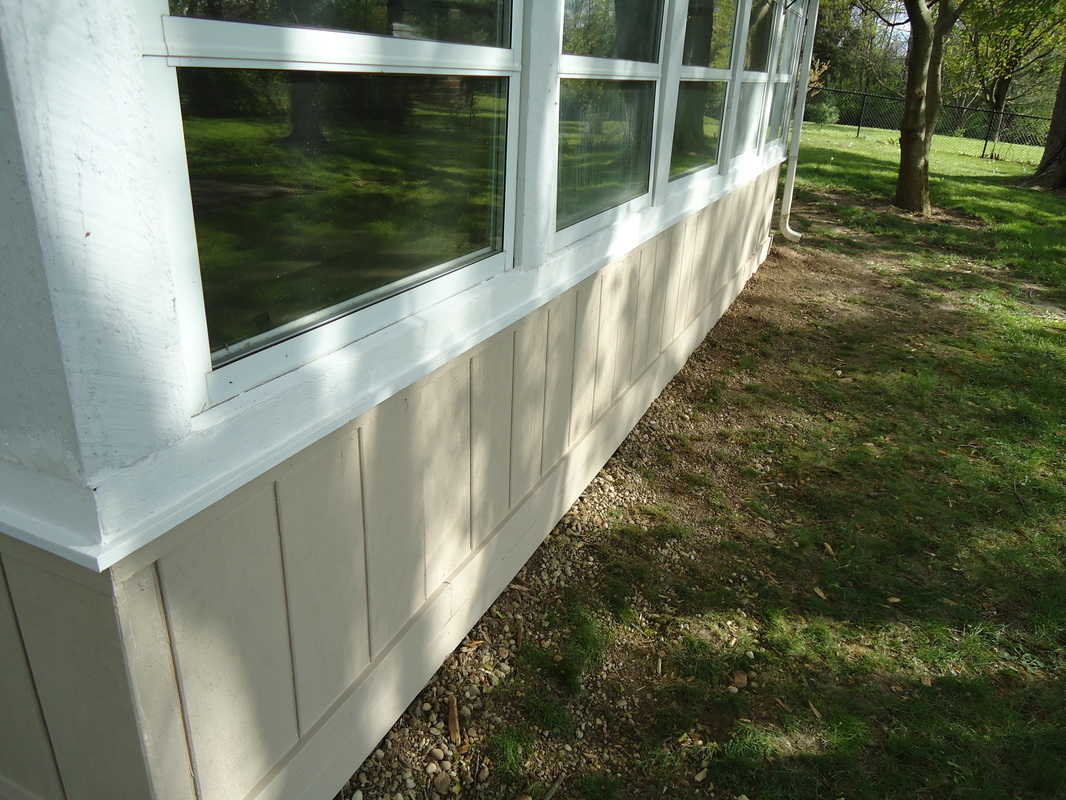 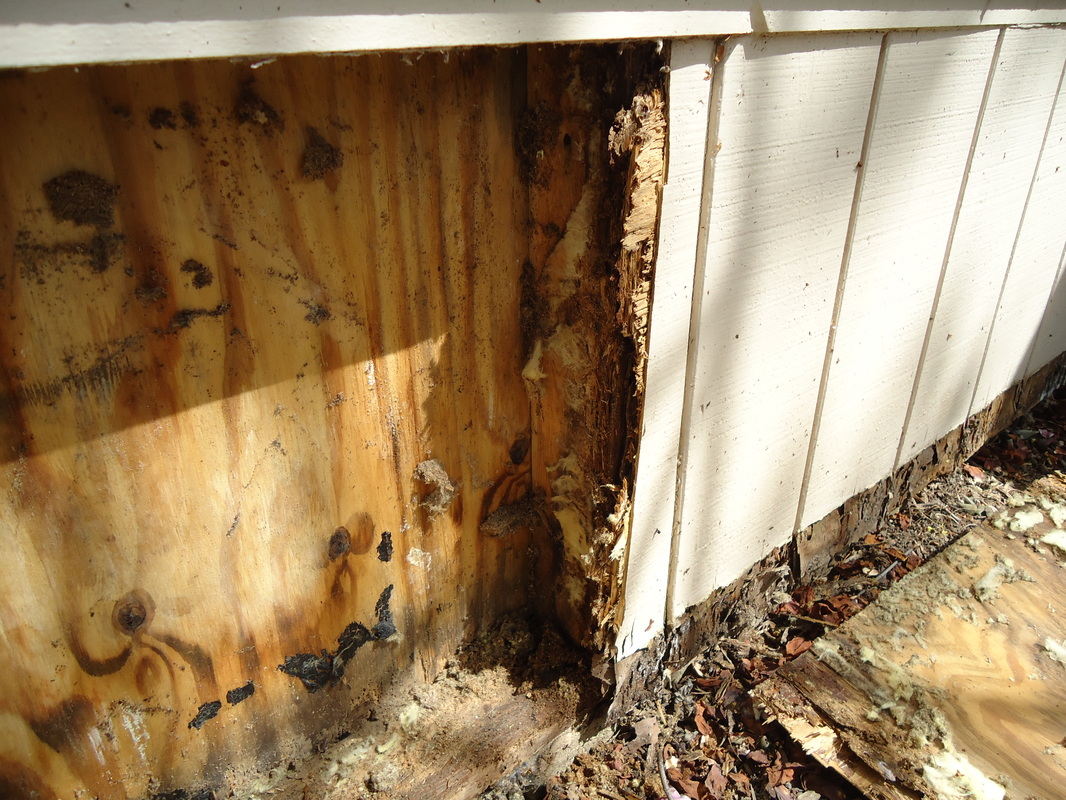 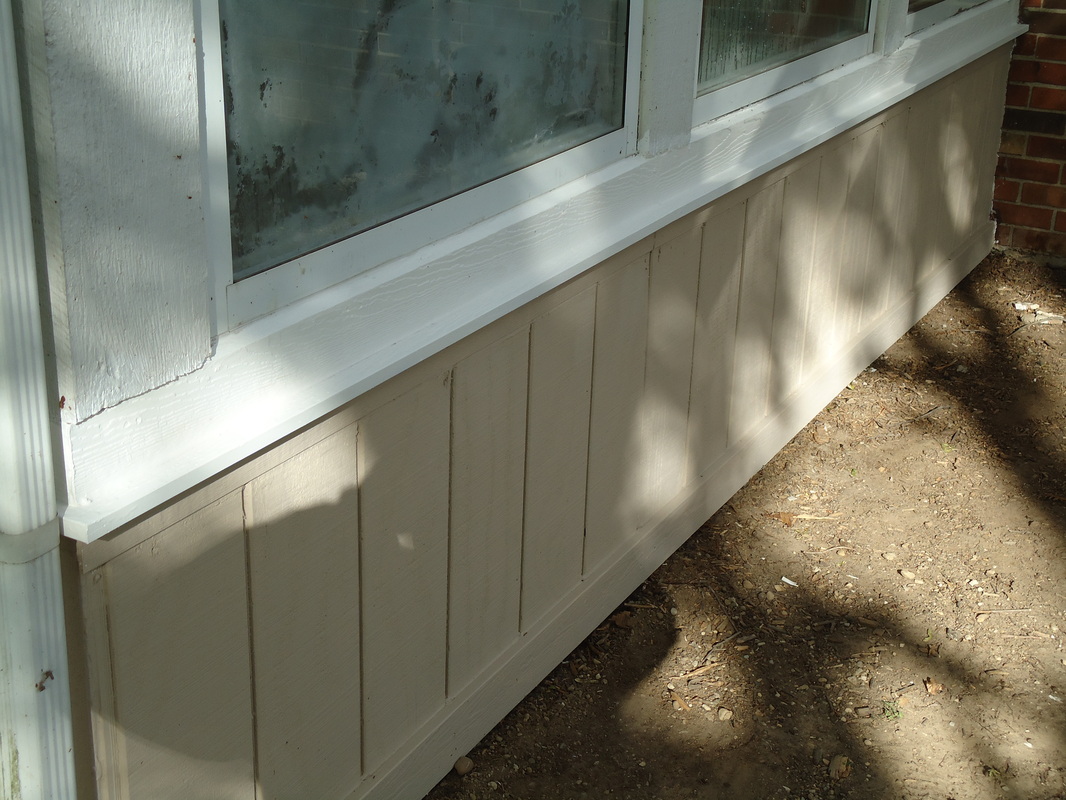 |
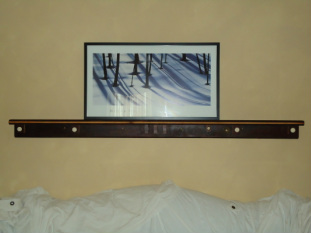
From door to plate rail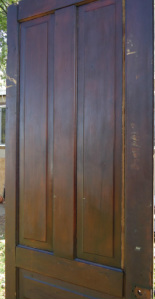
The plate rail is complete and on the wall, look at the pic.
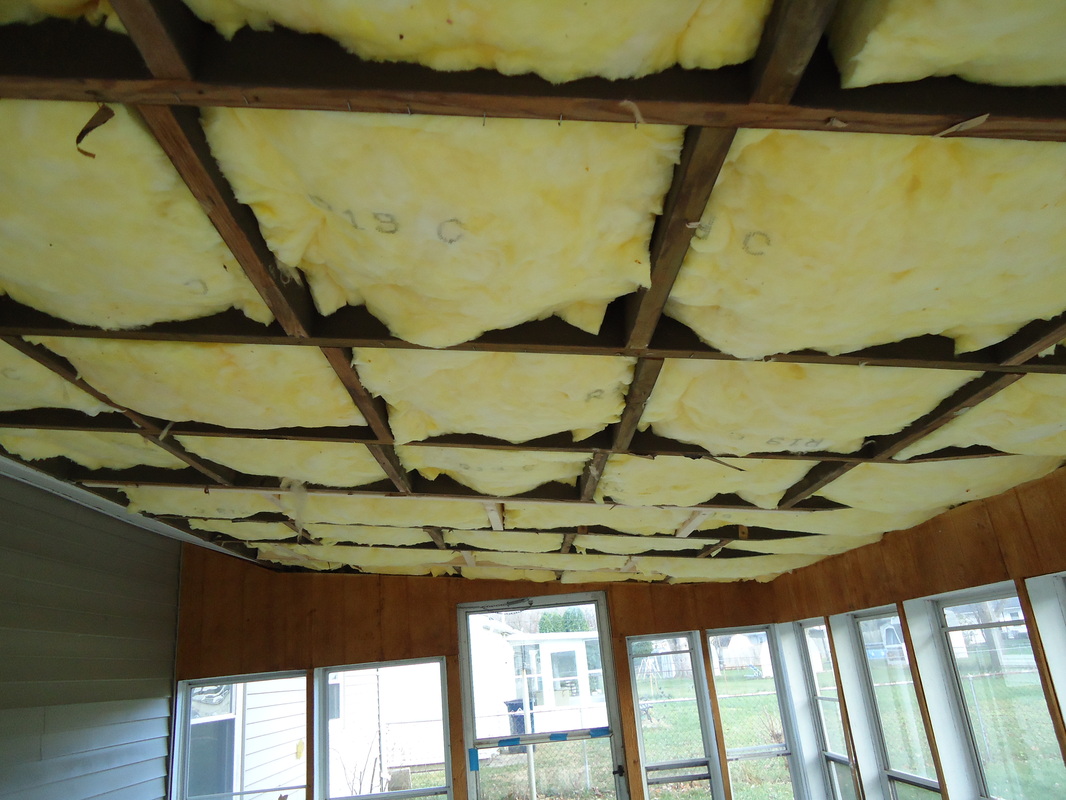
Three Seasons RoomIn the pics below, you can see how this three seasons room was and the damage water can do. Also pictured is one of the two split joists that had to be repaired.
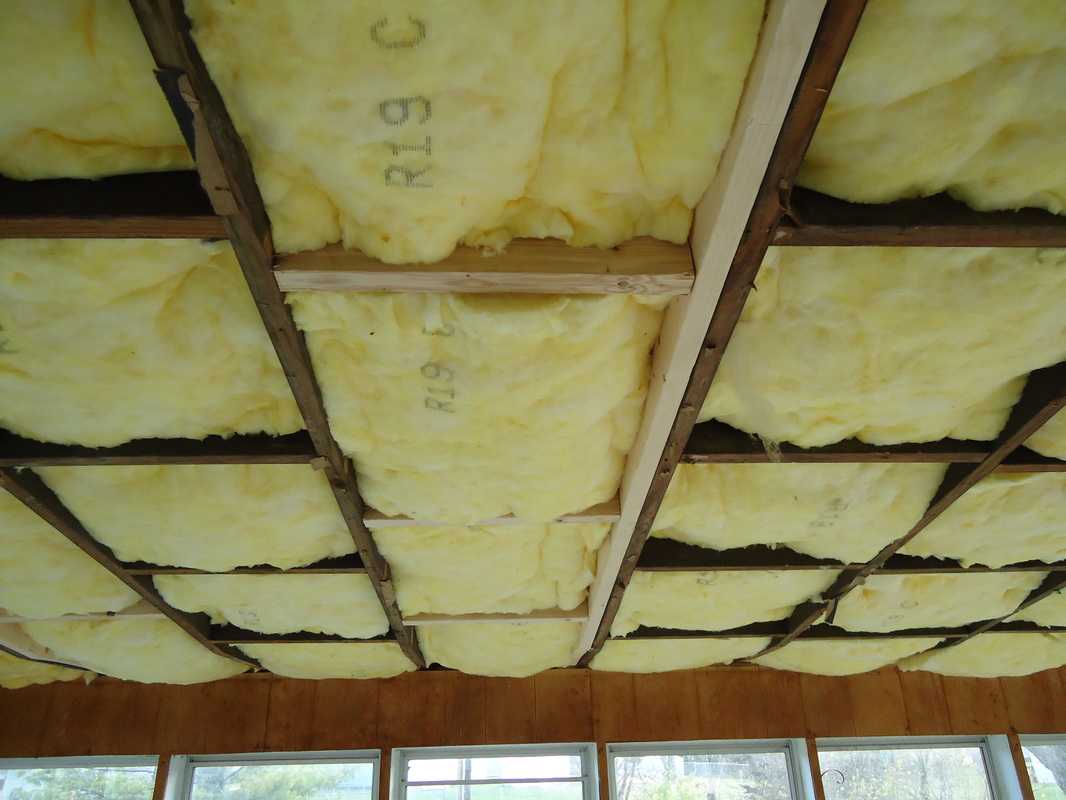
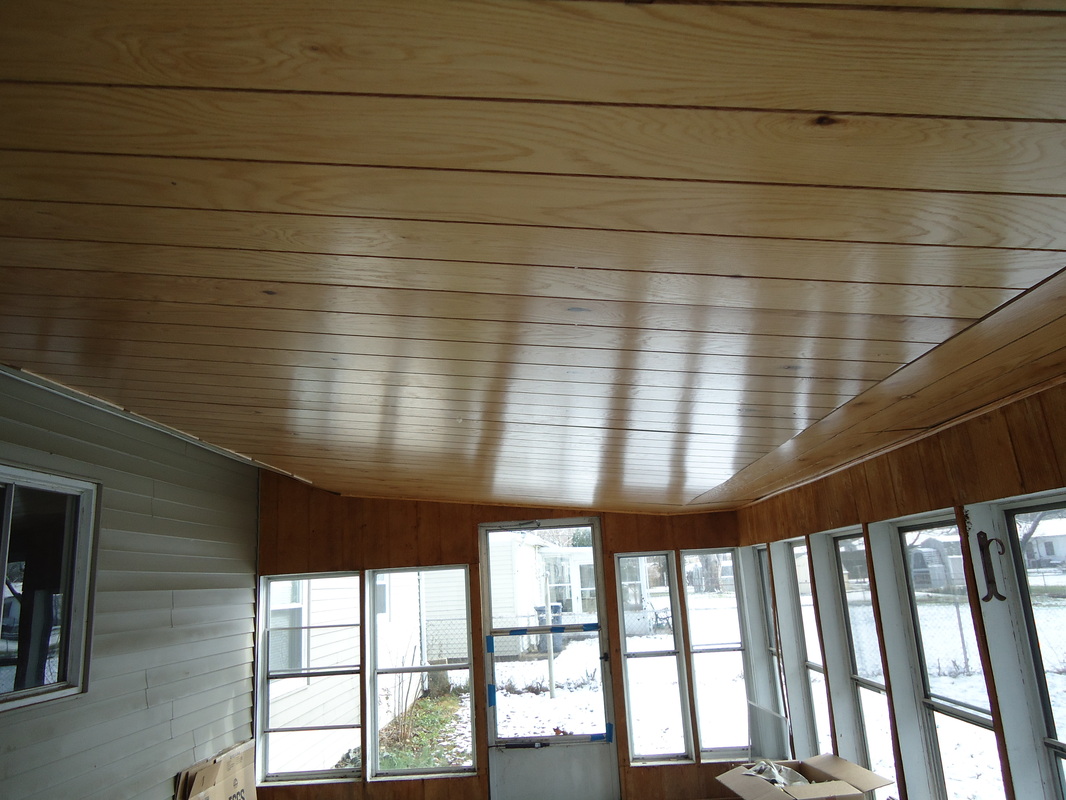
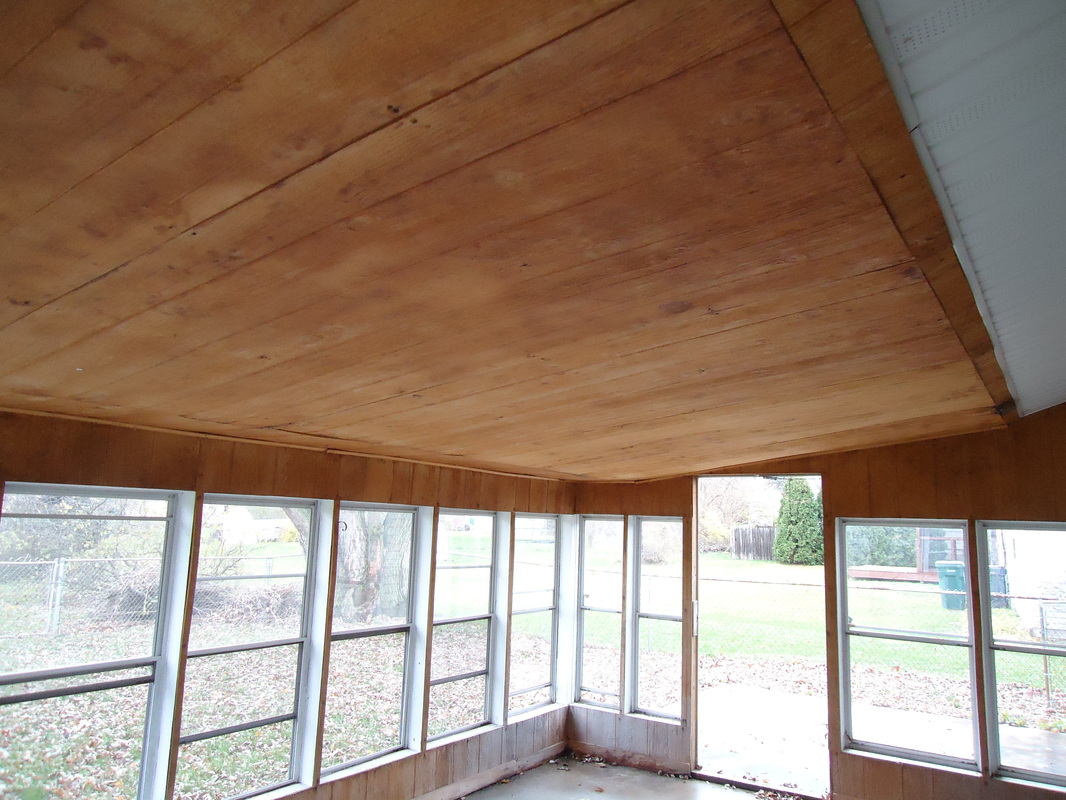      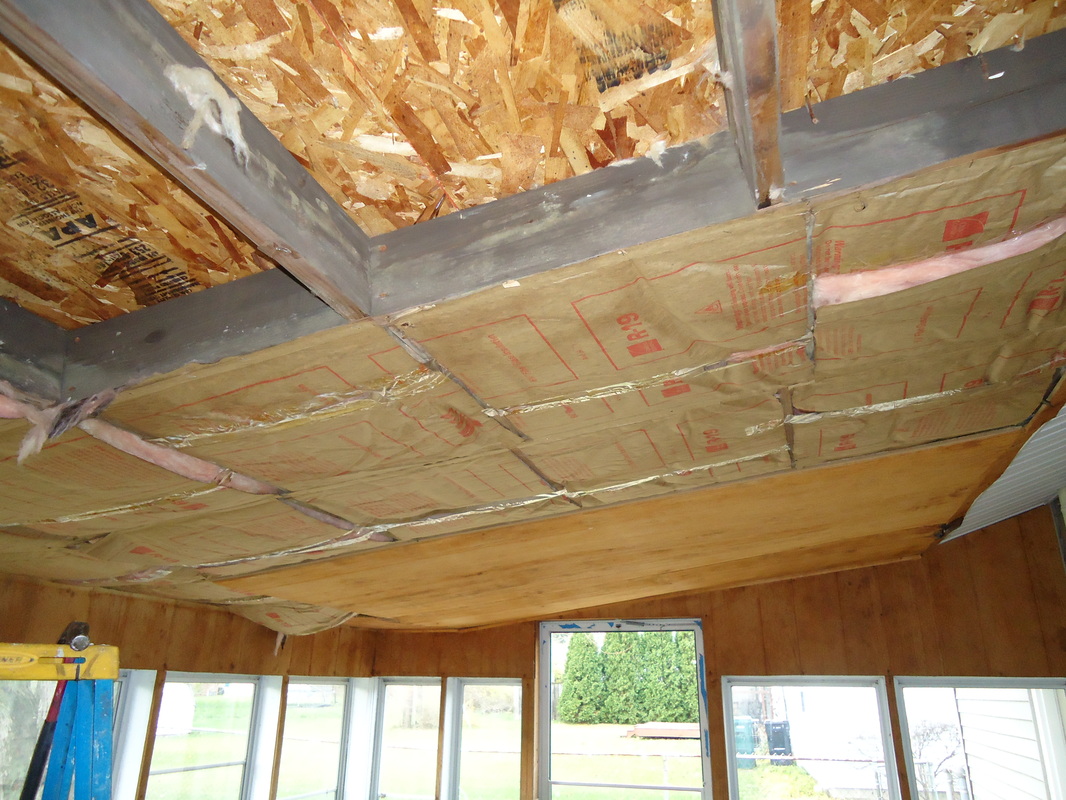 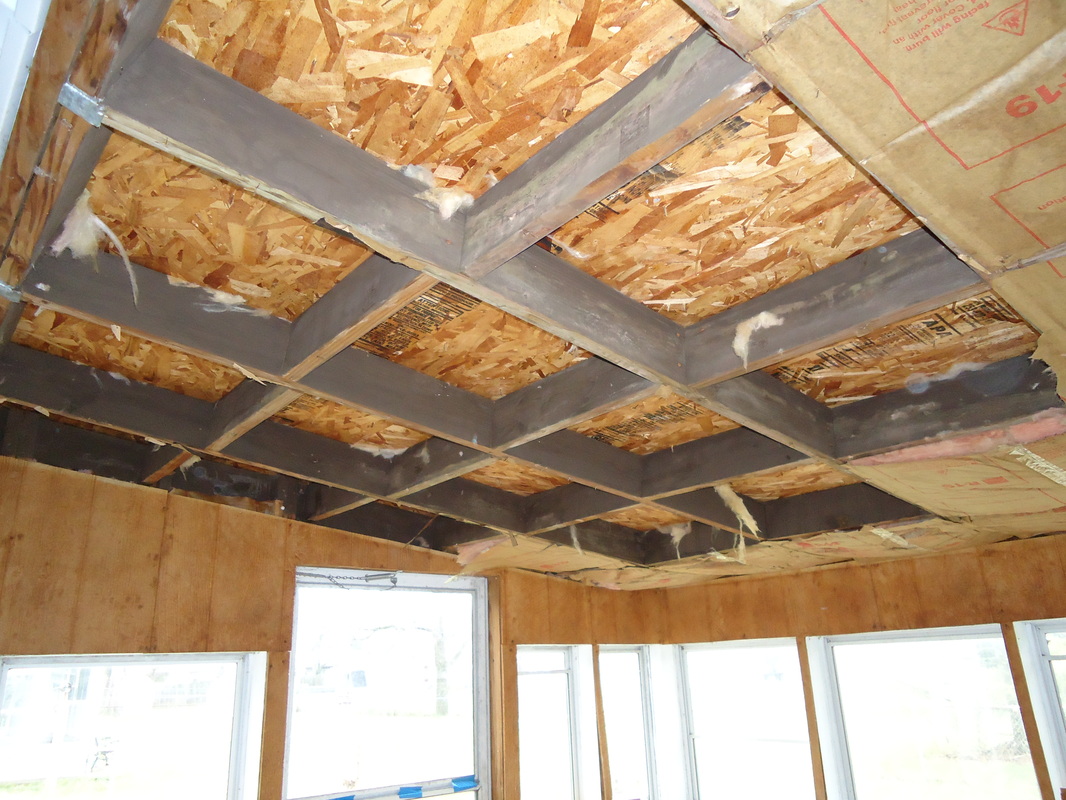  In these pics you can see the new insulation installed, sistered joist and new blocking, and finally the new ceiling material up.
    |